 EN
EN

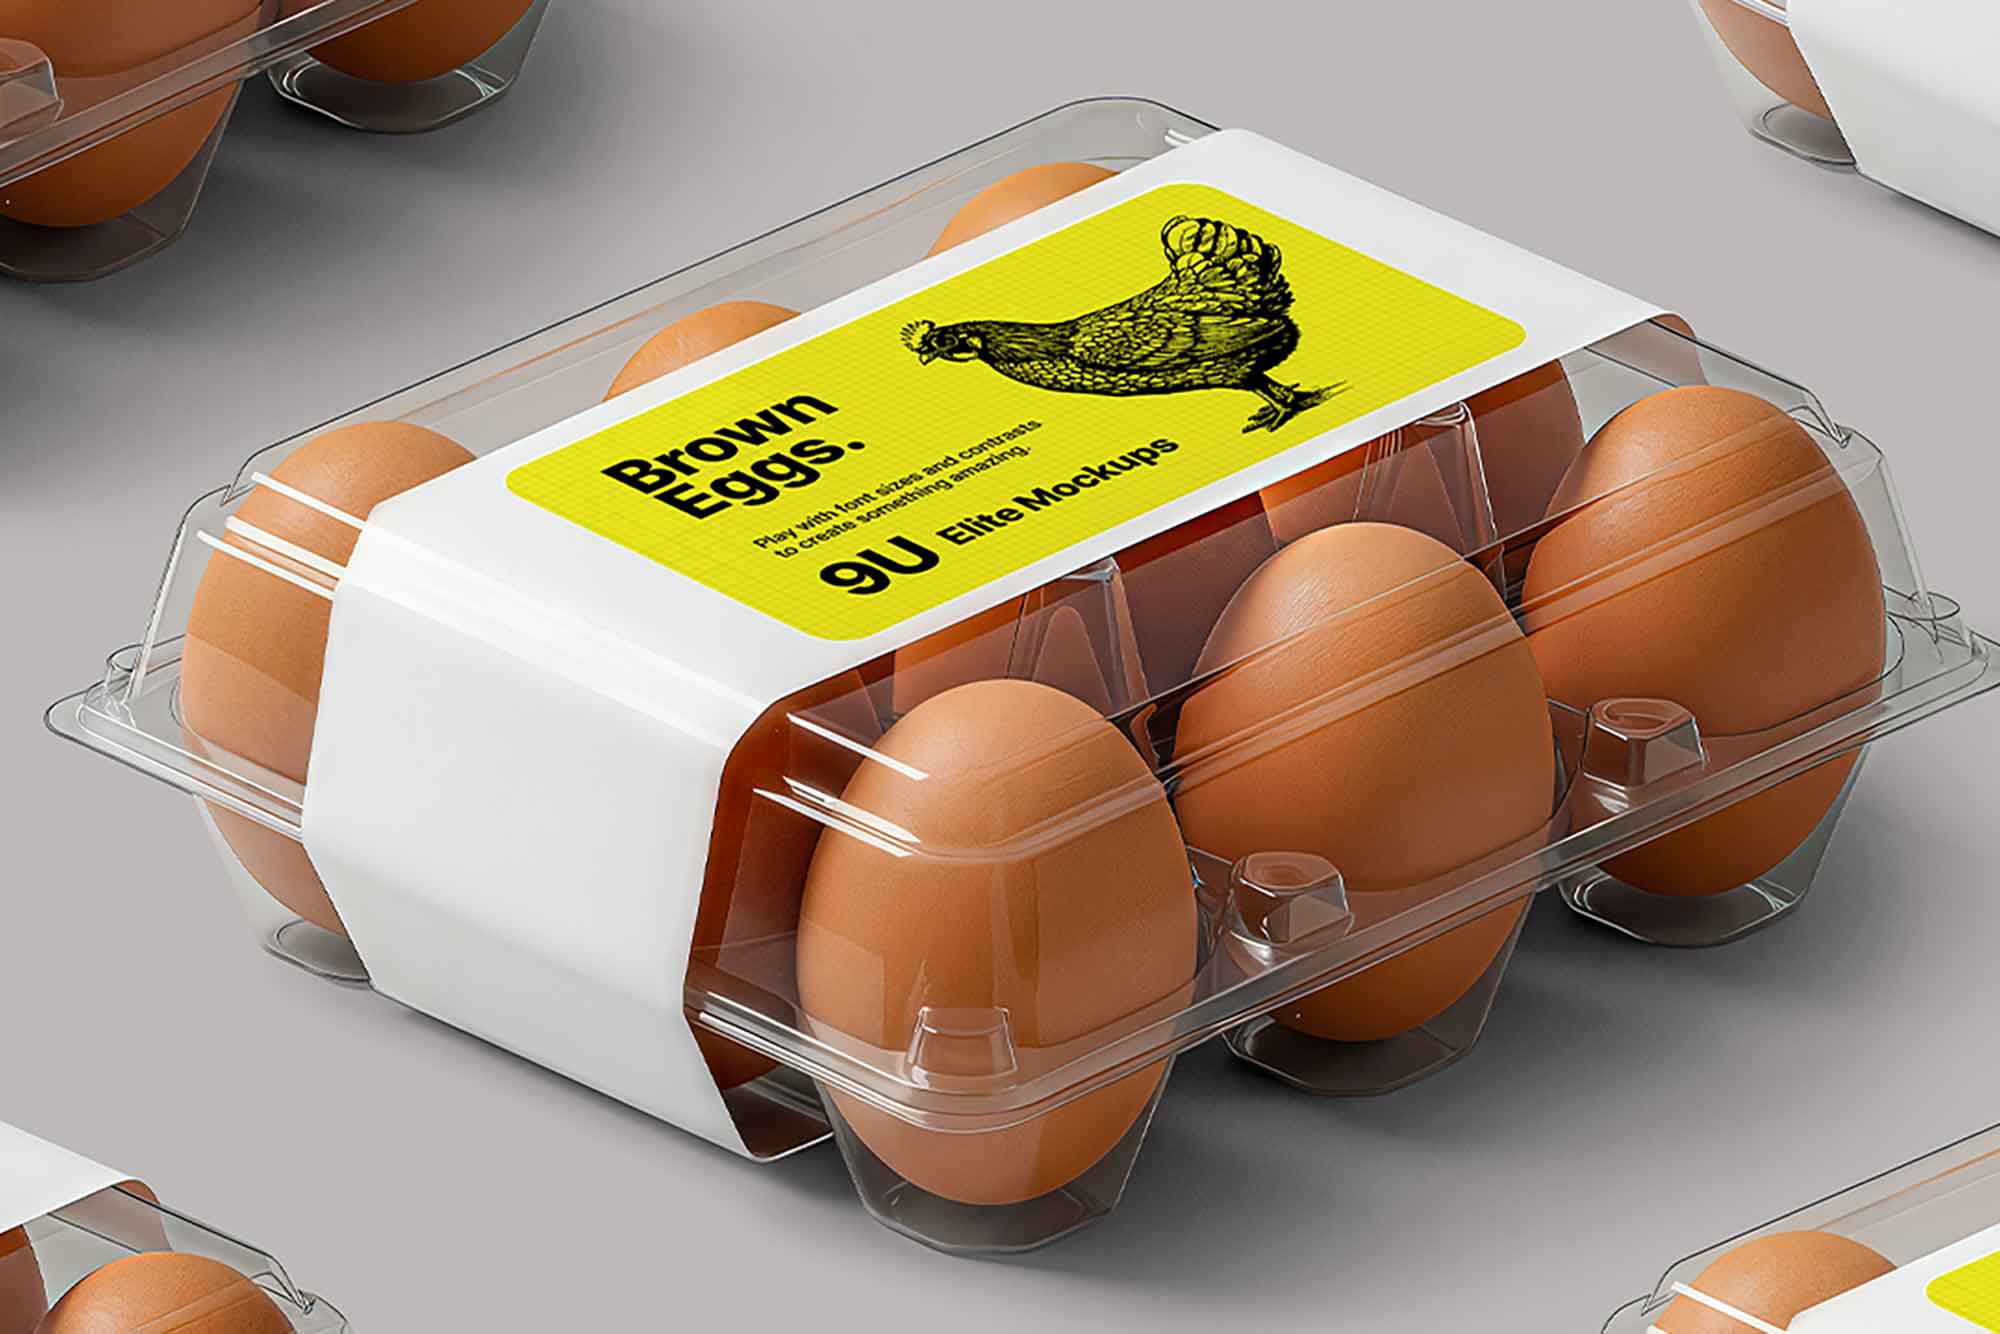
When a Custom Mold Is Necessary
Not every packaging project requires new tooling. Many buyers can find a suitable fit among 600+ existing mold designs already in production, covering standard egg counts, common cavity layouts, and typical carton dimensions. These existing molds are faster to source and involve no tooling investment, making them the default starting point for most standard orders.
A custom egg carton mold becomes necessary when a project requires something outside these standard parameters — a non-standard egg size, a unique cavity count, a specific label area placement, or a branded structural feature like a distinct locking mechanism. In these cases, buyers move from selecting an existing design to initiating a full egg carton tooling process, which involves more upfront coordination but results in packaging built precisely around the product and brand requirements.
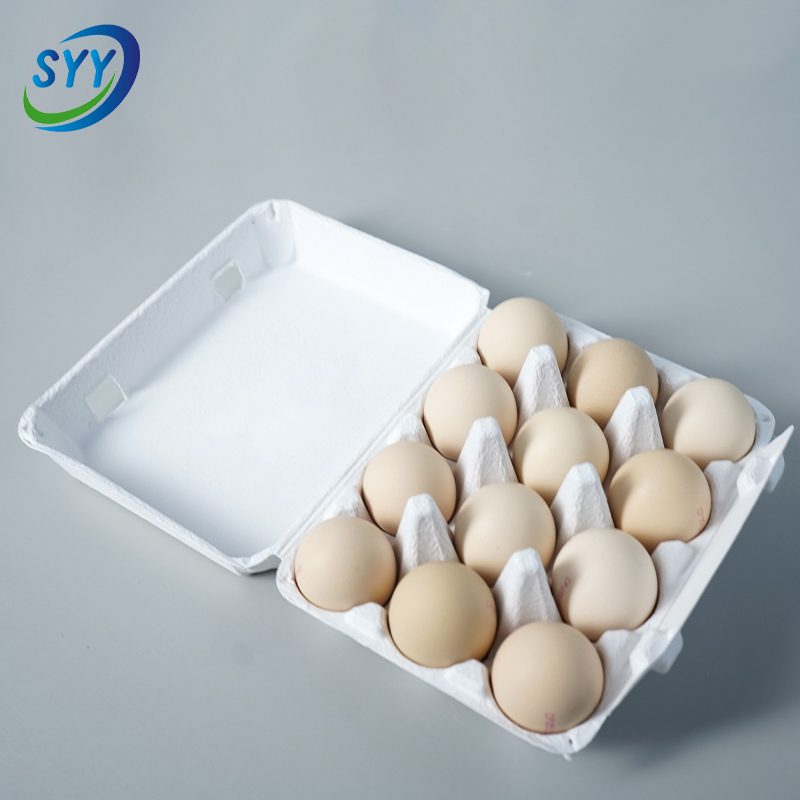
Step 1: Packaging Requirement Confirmation
Before any tooling work begins, the buyer and manufacturer confirm the core packaging requirements that will guide every downstream decision.
Information Buyers Need to Provide
At this stage, buyers typically share the target egg size and weight range, desired carton capacity (6, 12, 30-count, etc.), preferred material thickness, target tray gram weight, and any branding requirements such as label area size or embossed logo placement. Having this information ready at the outset significantly shortens the early planning phase, since it removes back-and-forth clarification before design work can start.
Step 2: Egg Size and Cavity Layout
With requirements confirmed, the focus shifts to cavity design — the individual cup shapes that will hold each egg securely in place.
Matching Cavity Shape to Egg Dimensions
This step determines cavity depth, spacing between cups, and wall angle, all based on the confirmed egg size range. Because eggs vary in shape and size across regions and breeds, this stage of custom egg packaging design ensures the cavity holds the egg snugly enough to prevent movement during transit, without applying excess pressure that could cause cracking.
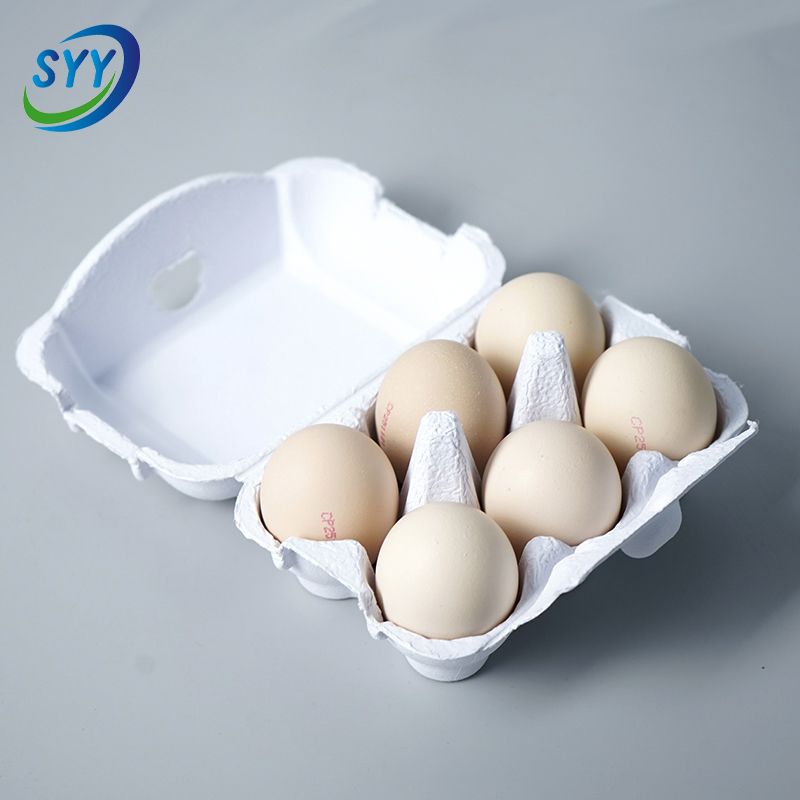
Step 3: Structural and Closure Design
Once cavity layout is set, attention moves to the carton's broader structure, including reinforcement ribs, 3D support contours, and the locking mechanism that holds the lid closed.
Confirming Technical Specifications
At this stage, several technical details are finalized together: material thickness, target gram weight, structural reinforcement pattern, and closure type. This is also when label area size and Logo placement are locked in, since these features need to align with the flat panel zones created by the structural design. Confirming all of these elements as a set, rather than individually, avoids conflicts between structural strength and available branding space later in development.
Step 4: Prototype and Sample Evaluation
Before committing to full mold production, most projects move through a prototype stage to validate the design against real eggs and real handling conditions.
Free Sample and Prototype Logic
Many manufacturers offer a free sample or prototype step at this stage using either 3D-printed models or trial-run parts from a similar existing PET egg tray mold, allowing buyers to physically evaluate cavity fit, closure function, and label area placement before final tooling begins. This reduces the risk of costly mold revisions later, since any adjustments identified during prototype review can be addressed before steel cutting starts.
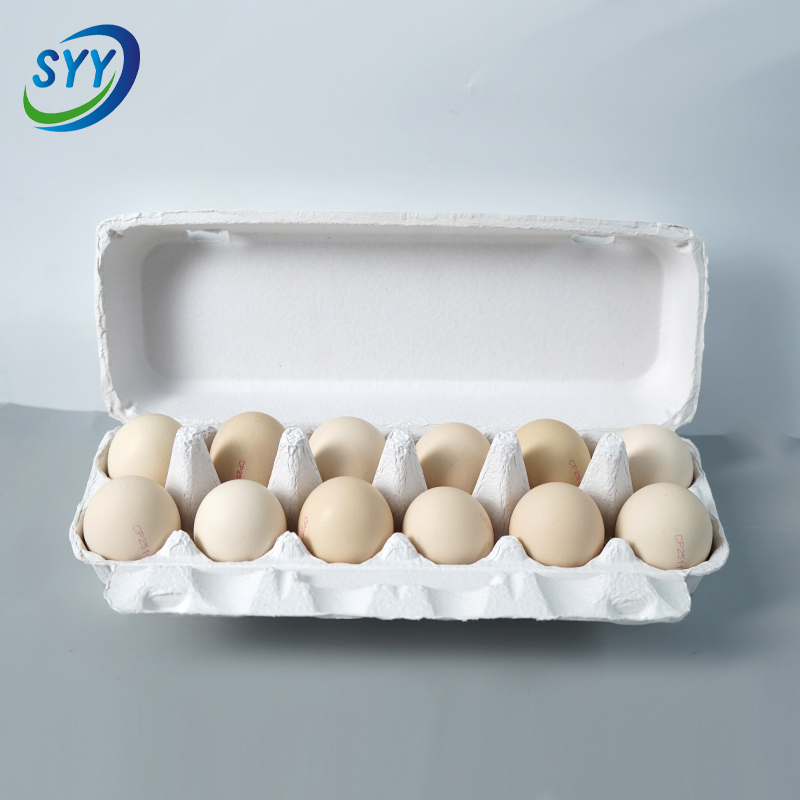
Step 5: Mold Production and Trial Run
Once the prototype is approved, the confirmed design moves into full mold fabrication.
From Steel to First Parts
Mold production typically involves precision machining of the mold base according to the finalized cavity layout, structural details, and closure design. After the mold is completed, a trial run produces the first physical cartons directly from the new tooling, allowing both parties to inspect actual wall thickness, gram weight, and closure function under real production conditions before mass production begins.
Step 6: Mass Production and QC
With the trial run approved, the mold moves into full production. Quality control at this stage focuses on consistency — confirming that thickness, weight, cavity fit, and label area placement remain uniform across the full production run, not just in the initial trial batch. Any of these production checkpoints can also be extended to future reorders, since a completed custom egg carton mold remains available for repeat use without repeating the design process.
Concept-to-Production Flow Overview
| Stage | Key Focus | Buyer Involvement |
|---|---|---|
| 1. Requirement Confirmation | Egg size, capacity, thickness, branding | Provide specifications |
| 2. Cavity Layout | Egg-specific cup design | Confirm egg dimensions |
| 3. Structural & Closure Design | Ribs, support contours, lock type, label area | Approve technical drawing |
| 4. Prototype & Sample | Physical validation before tooling | Review and approve sample |
| 5. Mold Production & Trial Run | Steel cutting, first parts test | Inspect trial units |
| 6. Mass Production & QC | Full-scale output, consistency checks | Final approval and reorder reference |
This structured path from concept to production applies specifically to projects requiring a custom egg carton mold, distinguishing it from simply selecting from existing catalog designs.
FAQ
How long does custom mold development take?
Timelines vary by project complexity, but development generally spans from initial requirement confirmation through prototype approval, mold fabrication, and trial run before mass production begins, with each stage building directly on the previous one's sign-off.
What information should buyers provide?
Buyers should provide egg size and weight range, desired carton capacity, target material thickness and gram weight, and any branding details such as label area size, Logo placement, or specific closure requirements.
Can an existing mold be modified?
In some cases, an existing mold from the 600+ standard designs can be adapted with minor adjustments, such as label area changes, though significant changes to cavity size or structural layout typically require a new custom mold.
When is a new mold more suitable than a standard mold?
A new mold is more suitable when the project involves a non-standard egg size, unique cavity count, specific branding placement, or a structural feature like a custom locking mechanism that isn't available among existing designs.